01
Open your scans
Obelisk works on the RAW files from your camera, one folder per roll. Click … at the top of the sidebar, or File → Browse for folder…, and choose the folder. Choose a folder that holds several roll folders to open them all at once.
Obelisk keeps watching the folder, so frames you scan into it appear on their own. Recent… reopens a folder you have used before.
02
Lab auto or Calibrated
Each roll in the sidebar has a header with a switch:
- Lab autoConverts any colour negative with no setup, the way a lab printer sets up a negative: every frame balanced and exposed on its own. Start here.
- CalibratedConverts through a profile you have made for that film on your own camera and light, so every frame of the roll lands at one density and one colour. See Calibrate a film stock.
Black and white film? Lab auto is for colour film. For black and white, use a B&W profile instead: see Black & white film.
If the header also shows RGB | White, choose the light you scanned with: White for an LED panel or light table, RGB for a light made of separate red, green and blue LEDs. To set it once for every roll, use Settings → Active scan light.
Scanned each frame three times, under the red, green and blue LED alone?Merge them first: right-click the roll header and choose Merge trichromes. Each frame’s three exposures become one raw file, and the single-LED scans move to a Trichrome sources folder inside the roll. Then choose RGB as the light.
Then press ▶ on the roll header. The number beside it is how many frames will convert.
03
Pick the film base
Before a roll converts for the first time, Obelisk shows a whole scan, uncropped and still negative, and asks for one click on clear film.
Why it matters. Clear film is film with no picture on it: the orange mask of the film, seen through your light and your camera. Obelisk subtracts it from every frame of the roll, so this one click sets the colour of the whole roll, and measuring it once keeps every frame consistent.
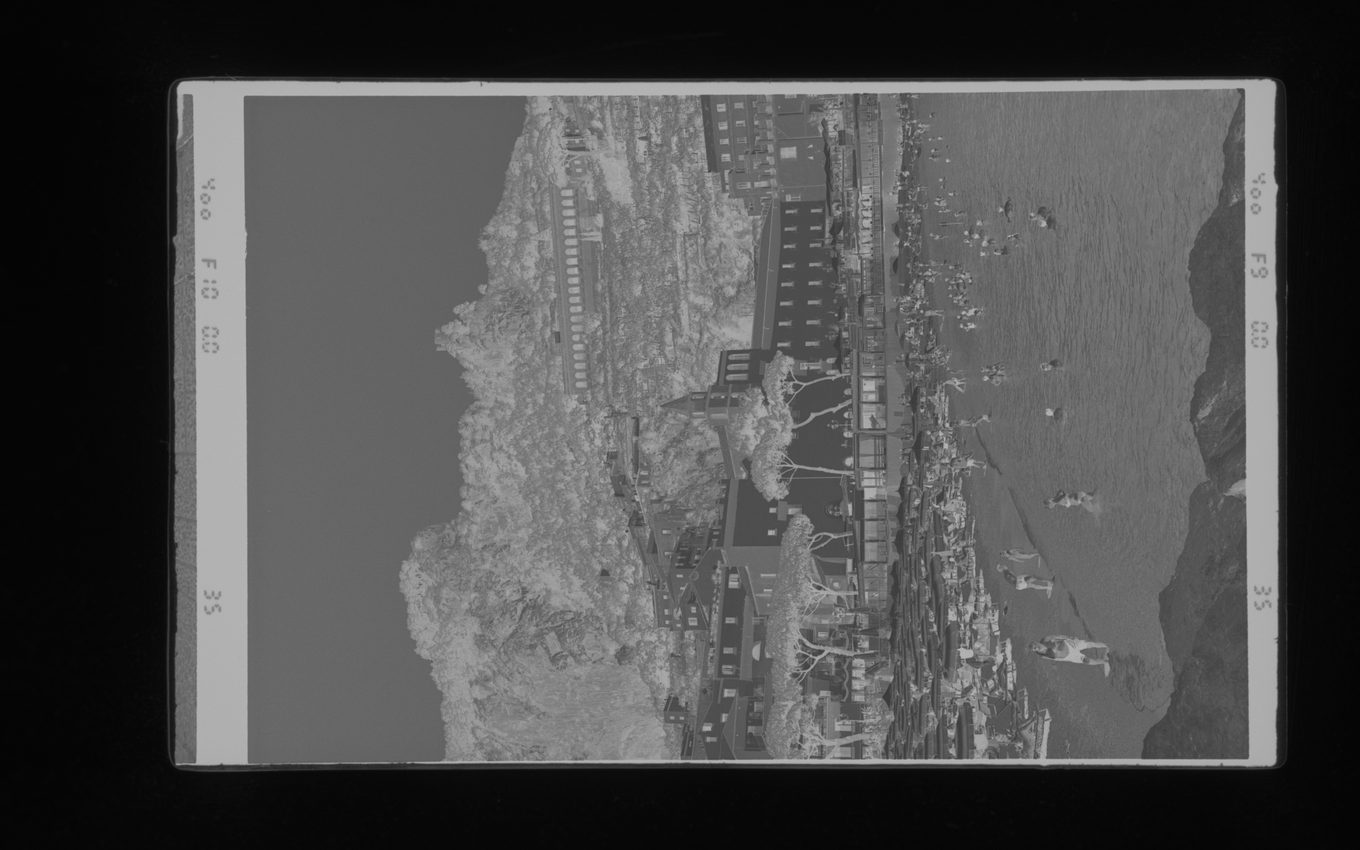
- Choose a normally exposed frame. On a heavily over-exposed frame, light can spread into the film’s edge and fog it. Step through the roll with ← → or by clicking thumbnails in the sidebar.
- Size the circle with the scroll wheel, so it fits on clear film.
- Click a plain light-grey spot of clear film.
- Obelisk checks the spot. If it is not clear film, it says so: click somewhere else. Then the roll converts.
Not sure? Skip — use auto base converts straight away. Obelisk then reads the clear film between frames itself and agrees on one base for the roll once it has converted. If it could not be sure, the roll header shows ◈ check.
To change the base later, right-click the roll → Pick roll base… A roll with a hand-picked base is not asked again. To skip the question for every roll, untick Settings → Rebate detection → Pick the film base before converting a roll.
04
Review and adjust
Click a frame in the sidebar to open it. Adjust it with the sliders under the image, or faster with the keyboard:
On a Mac, ⌘ works wherever Ctrl is listed.
→ Apply to roll copies the open frame’s settings to every frame of the roll: useful when the whole roll shares a cast or sits a little dark.
05
Export
Export… in the toolbar saves the open frame; Export all… at the top of the sidebar saves every converted frame. Choose TIFF or JPEG, the size and the sharpening in the export dialog.
In the free trial, export is the one thing that needs a licence. Everything else works for 10 days from the first launch. To get a licence, write to info@northharbourinstruments.com and load it under Help → Licence…
Your work is saved beside the scans, in an Obelisk folder inside each roll folder, so a roll opens again exactly as you left it.
Black & white film
Lab auto is made for colour negatives. On black and white film it leaves a sepia or pink tint, so use a B&W profile instead. It needs no calibration: Obelisk merges the three colour channels of the scan into one, so the print comes out neutral grey.
- Make the profile. Open View → Film profiles and click New B&W… Name it after the film, for example HP5 400.
- Set its light. In the editor that opens, set Light source to the light you scan with, White or RGB. It saves by itself.
- Use it on the roll. Switch the roll header to Calibrated, pick the profile and press ▶. The base pick works as it does for colour film.
Make one profile per film, or one for all of them. To change how contrasty a film prints, adjust Print range and Base contrast in its profile, the way you would choose a paper grade.
Scanning tips
- Leave some clear film in every scan.A little of the film’s edge, or of the gap between frames. The base pick and the automatic crop both need it.
- Bright, but not clipped.Clear film should be the brightest part of the film without reaching the camera’s limit. The sidebar marks frames that are clipped or too dim.
- One setup per roll.Keep the light, aperture and shutter speed the same for the whole roll.
- Shoot RAW.Obelisk reads the RAW files of most current cameras.
Calibrate a film stock
Lab auto works on any colour negative. For a stock you scan often, a calibration makes every roll of it convert the same way. You need a standard colour chart, one roll of the stock with the chart photographed in one-stop steps, and about five minutes at the scanning station once it is developed. Start it from the Calibrate menu. How calibration works →
The video goes through a whole calibration, then converts a roll of the same film with the new profile.
Plays from YouTube: clicking loads the player from Google’s servers, which receive your IP address and may store cookies. Privacy policy · Watch on YouTube
More videos: Guides →
Stuck, or something looks wrong?
Tell us your camera, light and film holder, and send a RAW file if you can.